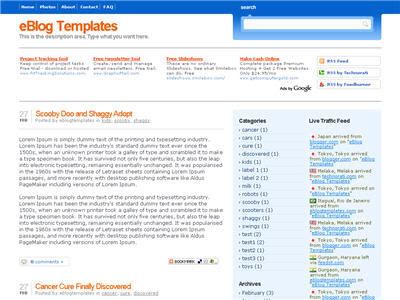
Name: Blogging Pro blogger template
Added by: Michael
Properties: 3columns, blue, orange, rounded, web 2.0, white

- View DEMO
- Direct DOWNLOAD
Top Tabs Setup
This is actually pretty easy since the top tabs are a link list. You don’t need to alter the template code. Just go into your Blogger page layout and click on the “edit” of the “top tabs” widget. Start adding new links and then save. A “home” link will automatically appear once you setup this widget so you won’t need to add one. Save and refresh your blog to see the pretty new tabs you just created. Here’s what it should look like (different names of course)
![]()
Configure The Three Header RSS Links
This section is actually setup to dynamically work except for the Feedburner link. You’ll first need to have a FeedBurner account.

Once you’ve got your FeedBurner account, you’ll need to edit this template code and replace a few parts. Search your template code for the following text: <strong>YOUR-FEED-NAME-HERE</strong> . Replace the text with your FeedBurner name. After you’ve changed this link save your template and check to see if it works.
Header AdSense Setup
This is a great location for showing ads and we really like how the designer laid everything out. The default ads are just a placeholder but of course feel free to use them until you find a replacement. You’ll need to again edit the template code to swap out the ads. Search your template for

Remember, when you paste in your own ads you will need to convert the ad code into a workable Blogger format otherwise you’ll get an error when trying to save it. You can also look at the existing ad code included in the template and use it as a model.
Individual Post Date Setup
This is a very important step and one that most people think is broken when they install the template. It’s not folks. You just need to go into your Blogger settings and make a small change before it will work.
After you install the Blogging Pro template, go to your Blogger’s “Settings” => “Formatting” and look for “Timestamp Format”. Make sure you change it to this format: “Tuesday, January 25,2008? as shown below.

This needs to be set in this format otherwise the date won’t show up properly on each of your posts! Actually the date will most likely be blank and you’ll think the template is broken. Remember to change the TIMESTAMP FORMAT (fourth item down on the page) and NOT the Date Header Format option
Author : (eblogtemplates)


